This week I have the start of something very special to me…
The Wedding Dress Quilt
A while ago a friend of mine asked me to redo/fix a quilt that her grandmother had made her and of course I said sure why not. When she brought the quilt to me I opened it up and was instantly floored. It was made from her and several other wedding dresses cut into squares and pieced back together. It had been used on someone’s bed and not attended to with the best of care, or really any care as it had stains that were not really from the wedding day. Some of the squares were light cream and some of them were dark cream, you could tell that the fabric was aged or slightly yellowing. And then some of them were a little more white and of a different fabric so you could tell that they probably from a flower girl dress or something of that nature. The top still had all the beading from the dresses hand sewn to the fabric. The quilt itself was not quilted but a tied quilt, which would make it a lot easier to take apart. There was no batting, just a hotel looking thin comforter tied and wrapped around as binding. In my mind I was freaking out!! Oh boy…what did I say yes to? How in the world am I going to fix this? How in the world am I going to be able to quilt on this with all that beading? I was dumb founded to say the least.
After a few minutes of looking this quilt over I was finally able to compose myself. I calmly asked her if she would be willing to take the back off. She said she would. So I showed her how to safely clip the ties that were holding it together, instructed her on how to buy backing fabric, and sent her on her way.
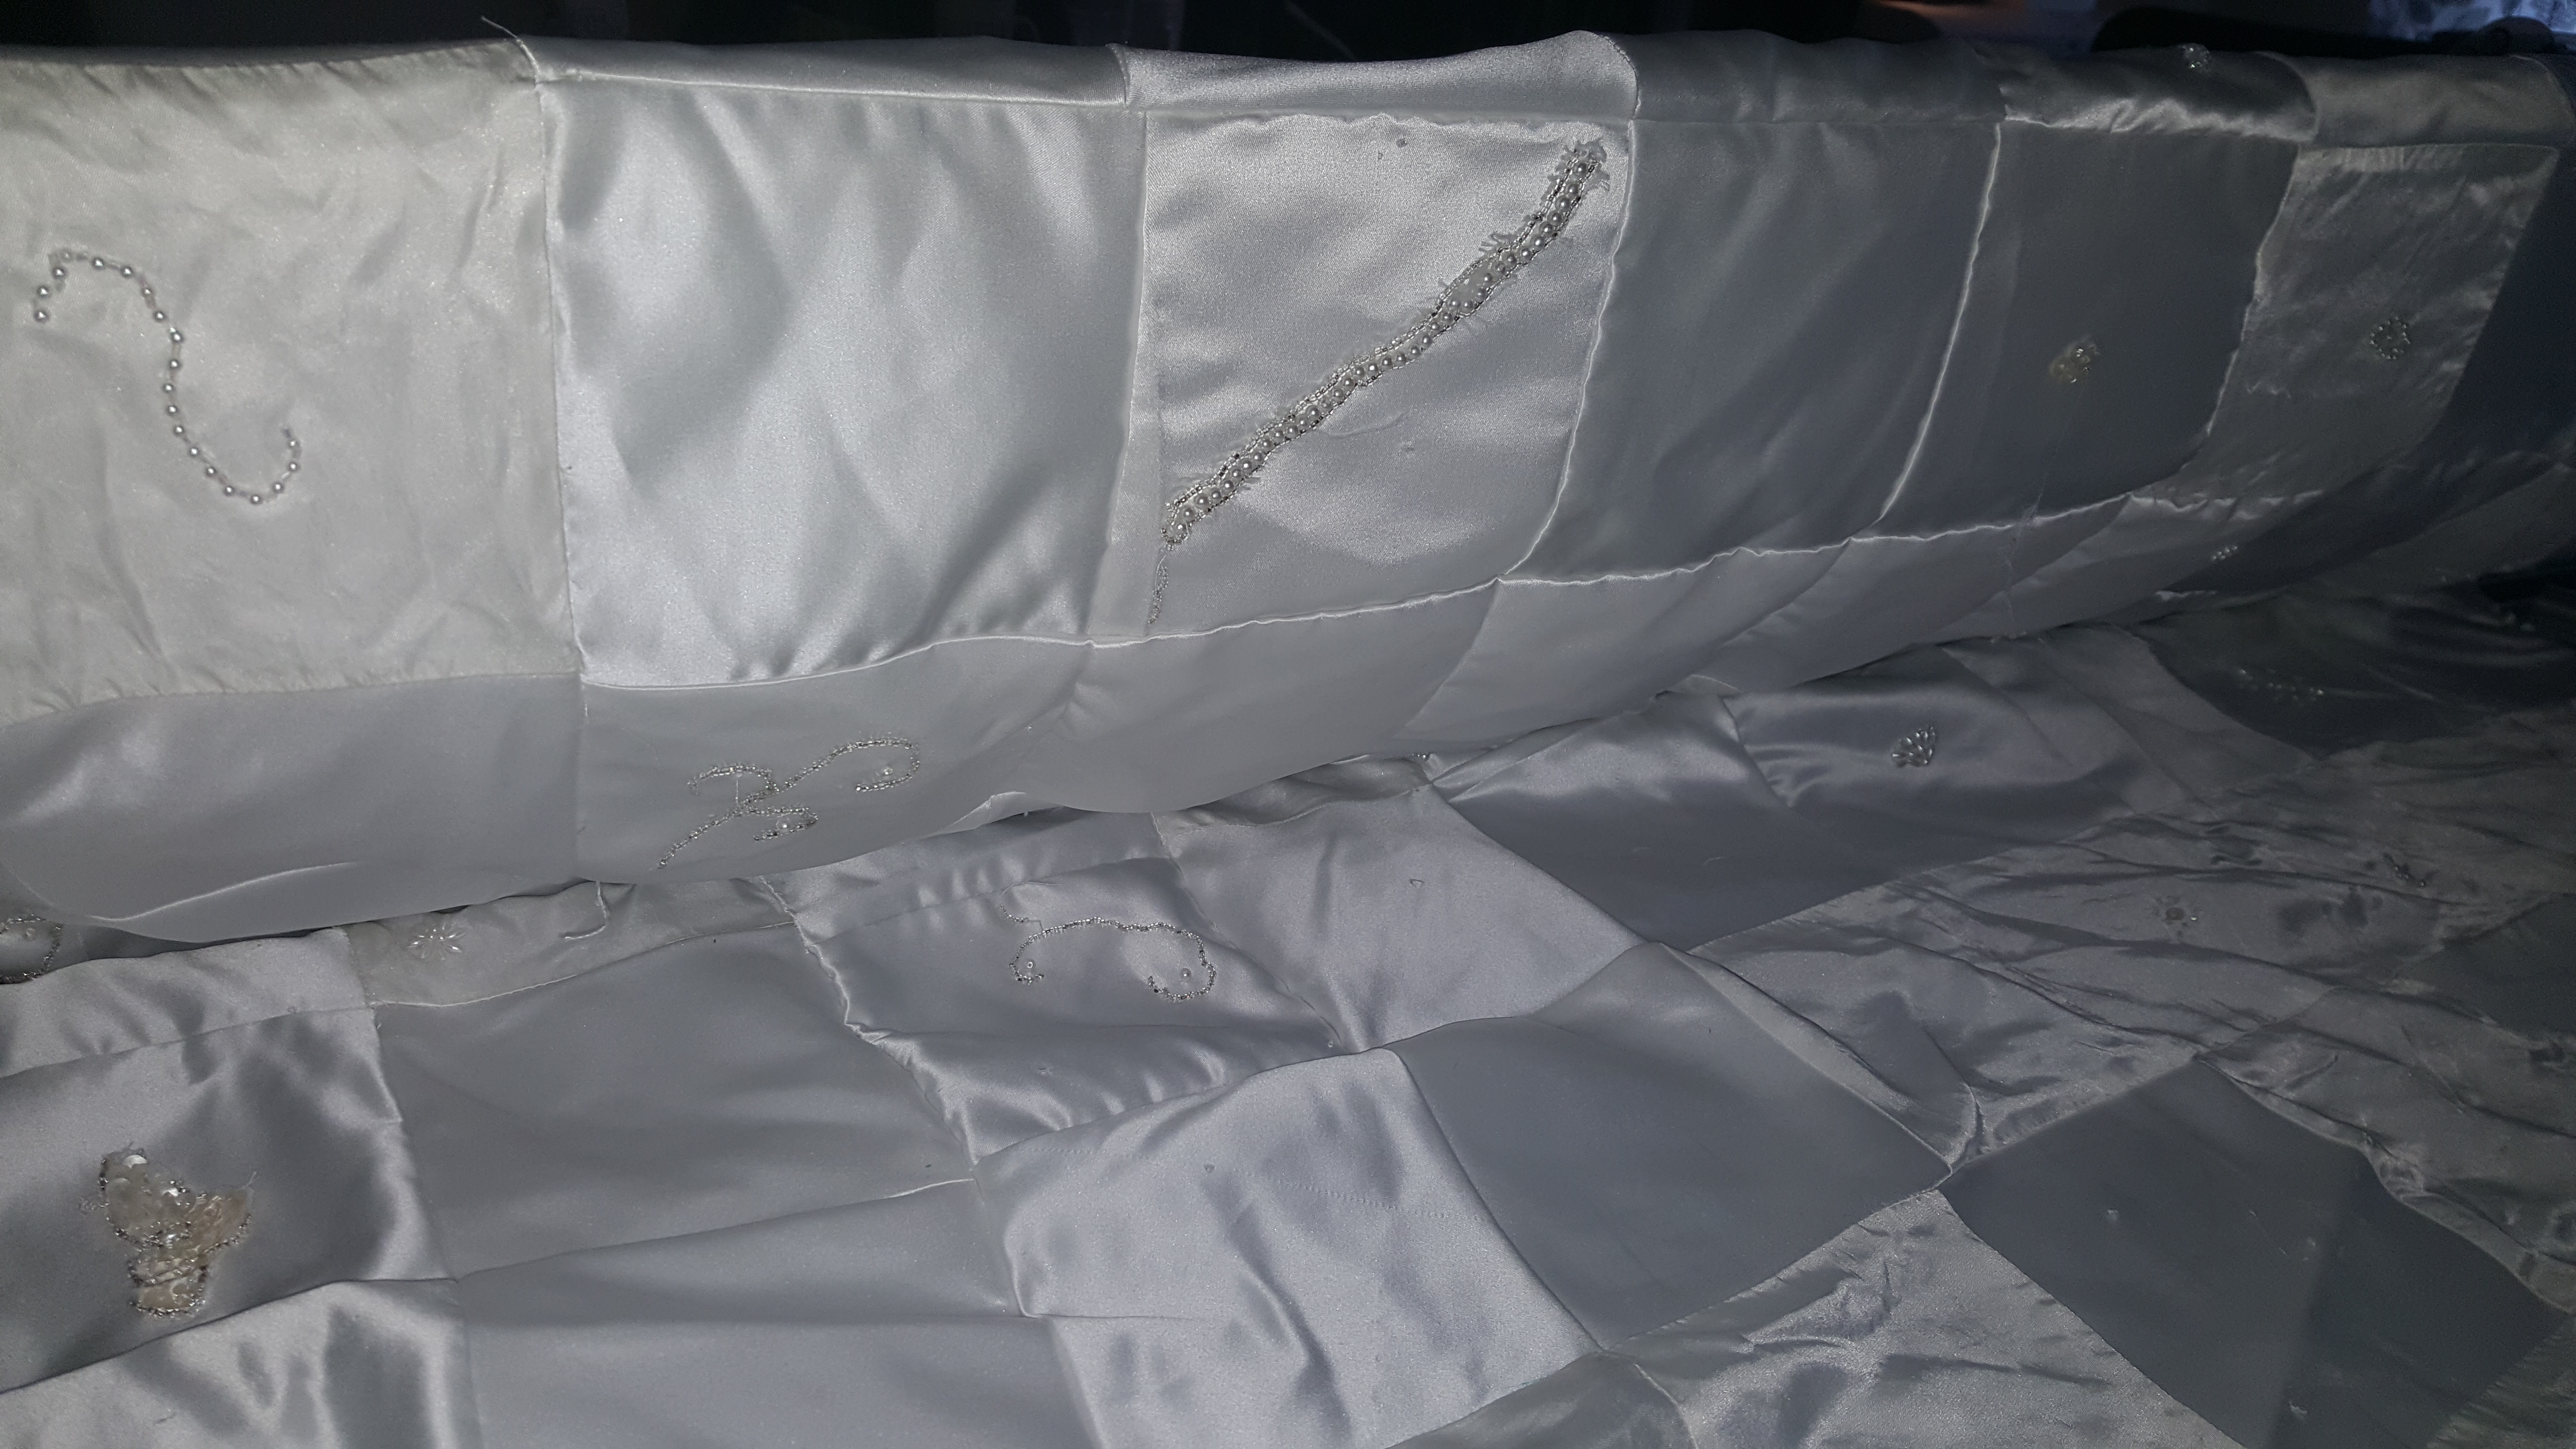
This is what I received when she brought it back.
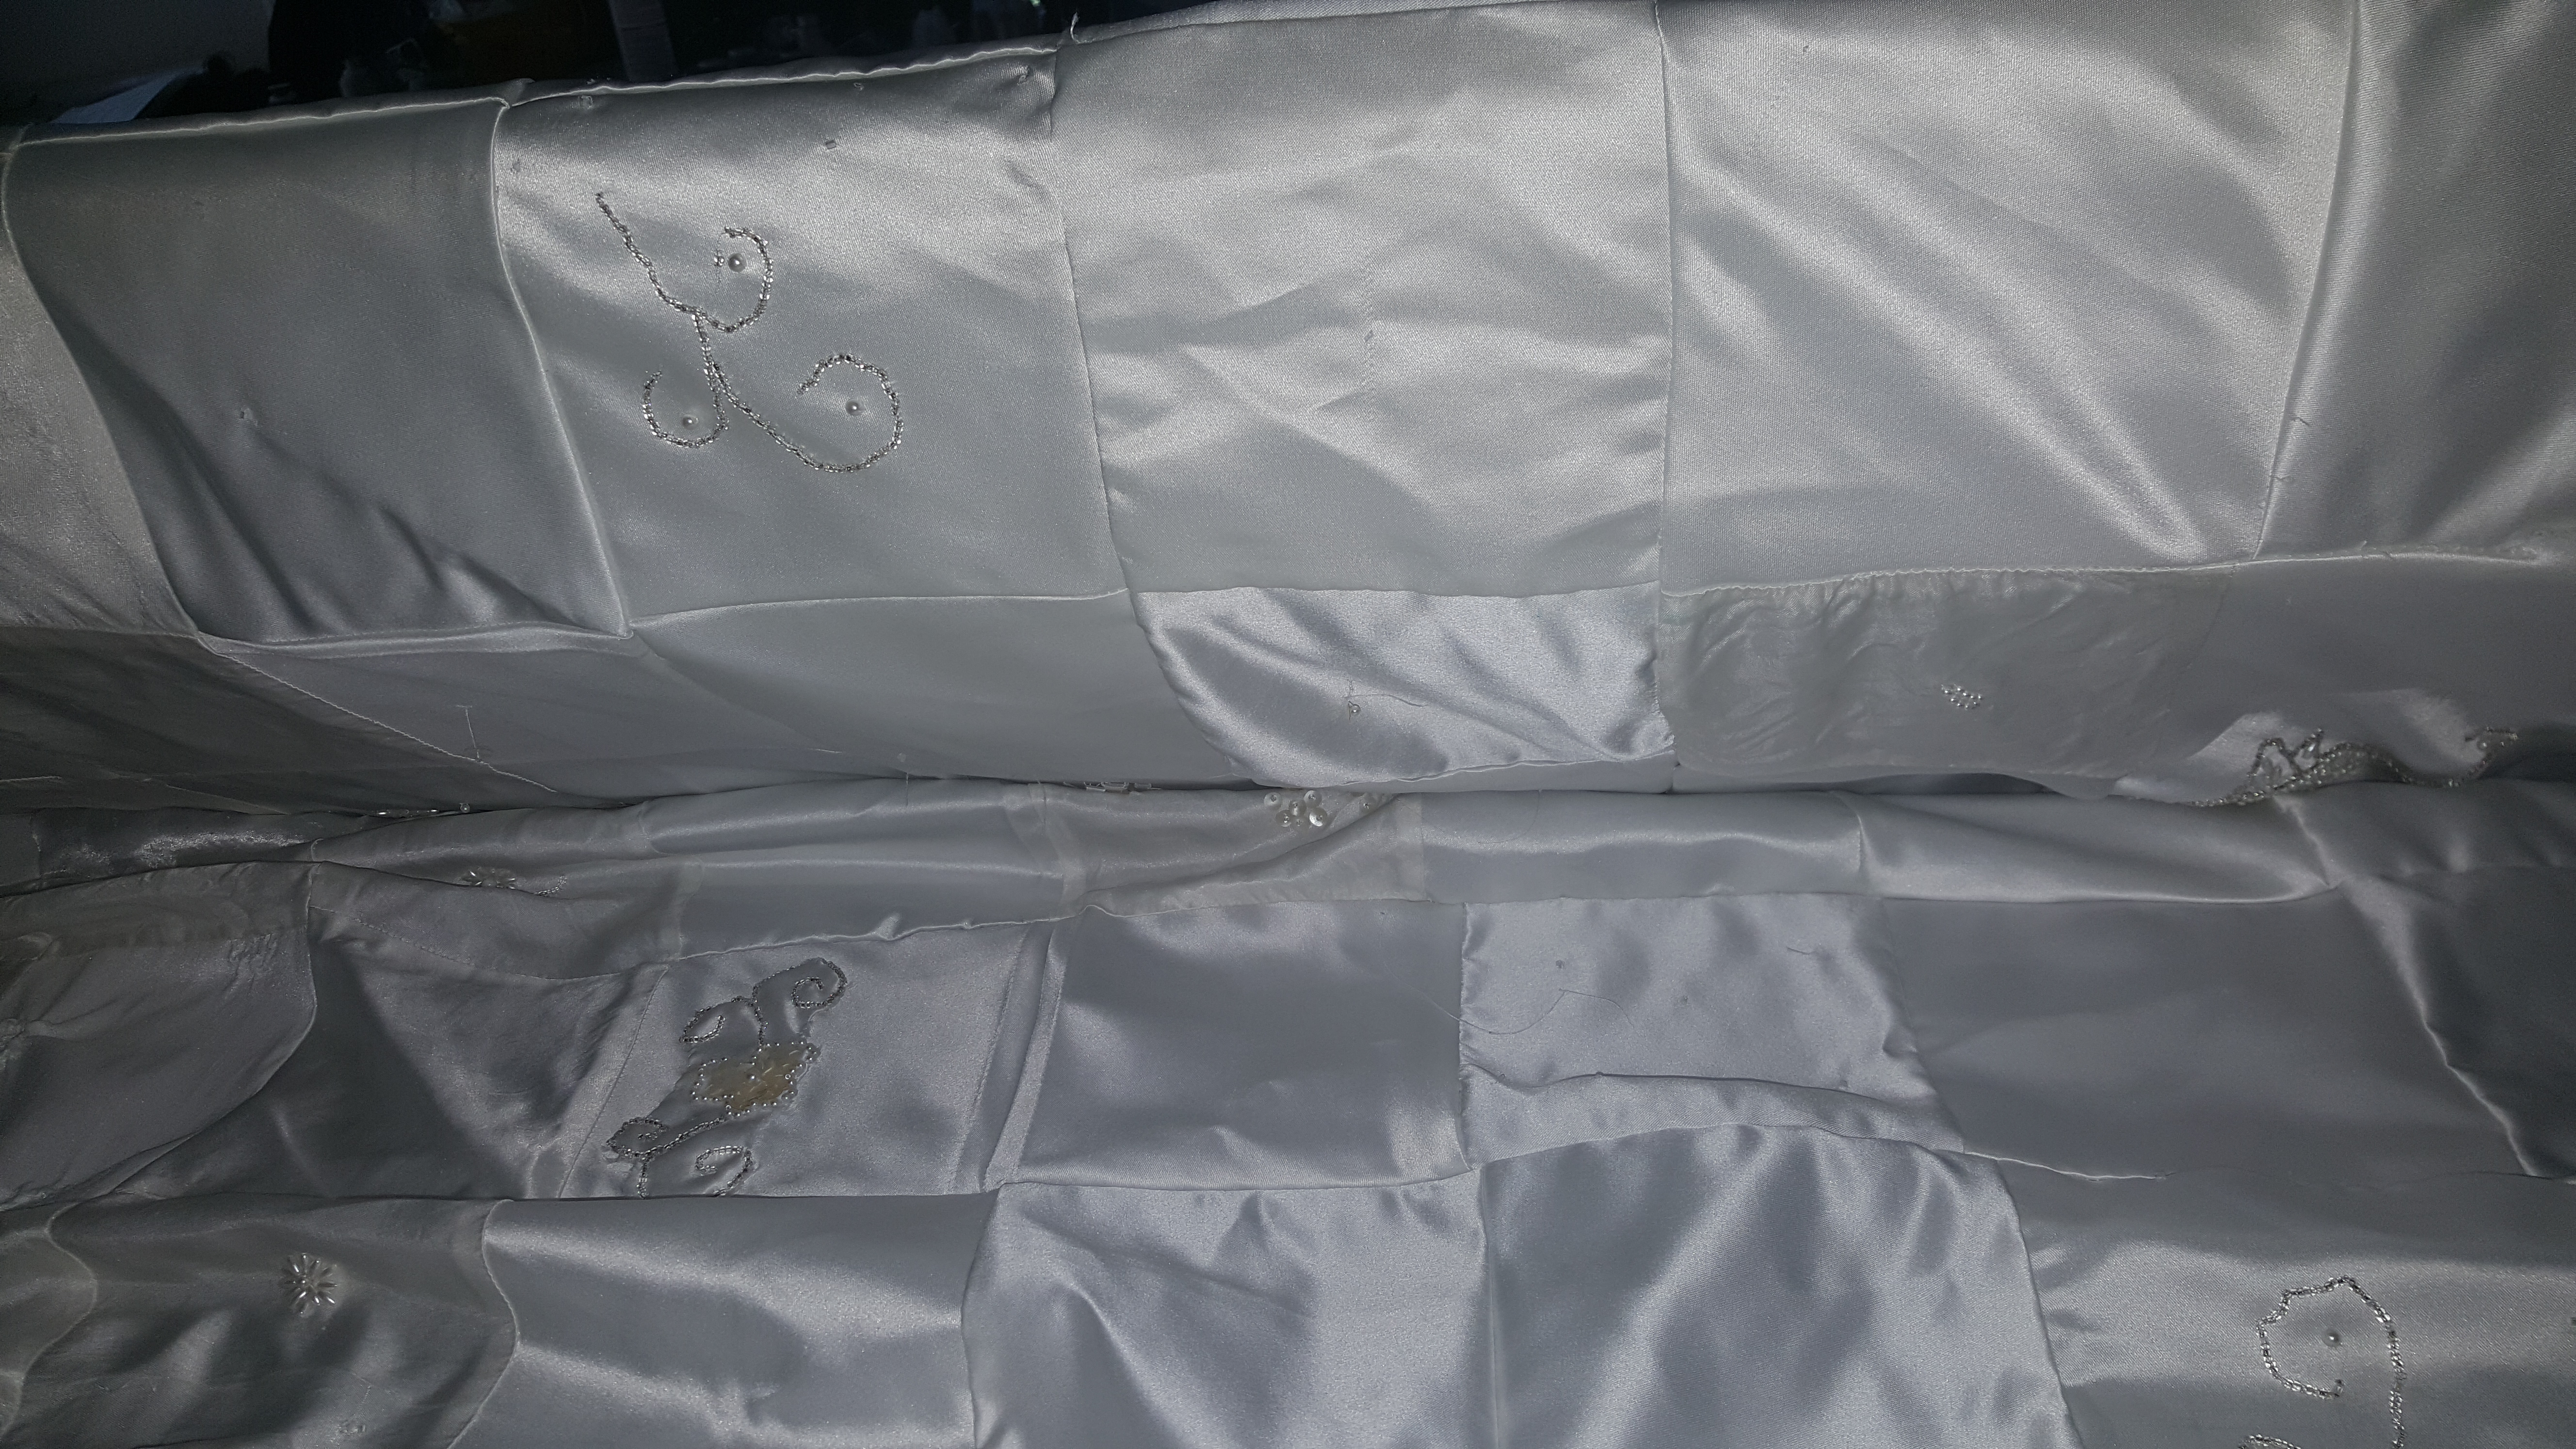
I am not going to lie, I freaked out a little more, oh what did I get myself into. So when it came back there was work to be done of coarse and had more problems than originally thought. First one main issue, it was not square at all. It had several spots where there was extra fabric or boobs as I call them (nice size D’s…lol). I spent a bit of time checking all of the seams, of which several needed fixing. Then there was a couple of big stains, but in its fragile state I did not tackle these just yet. I tried to iron it but that was not going over so well because of all the beading. In several areas the beading was coming undone or falling off in a couple of spots which only added to the fragile state this top was in. So I just did my best to get it ready to be loaded on the longarm.
Next up was testing marking pens. So glad I did not skip this step!! The blue water soluble marking pens did not come out the easy. I ended up using a friction pen (which is not really recommended for fabric).
I had a design in mind…
When I went to mark the quilt before loading it and it was soon clear that was not going to happen. The fabric was to slippery and the beading made putting any kind of stencil or ruler down impossible. The design I had in mind was not going to work out the way I wanted it to if I couldn’t mark it first. So this was going to have to be done with very little marking and designing would have to be done as I went along.
Before loading the quilt I needed to make a couple of decisions.
One… what was I going to use for batting?
And two… what thread was I going to use?
Lets start with the thread. I knew that I wanted something thin so that it would show texture only. I also didn’t want anything to sit on top of the fabric. I decided to use silk thread.
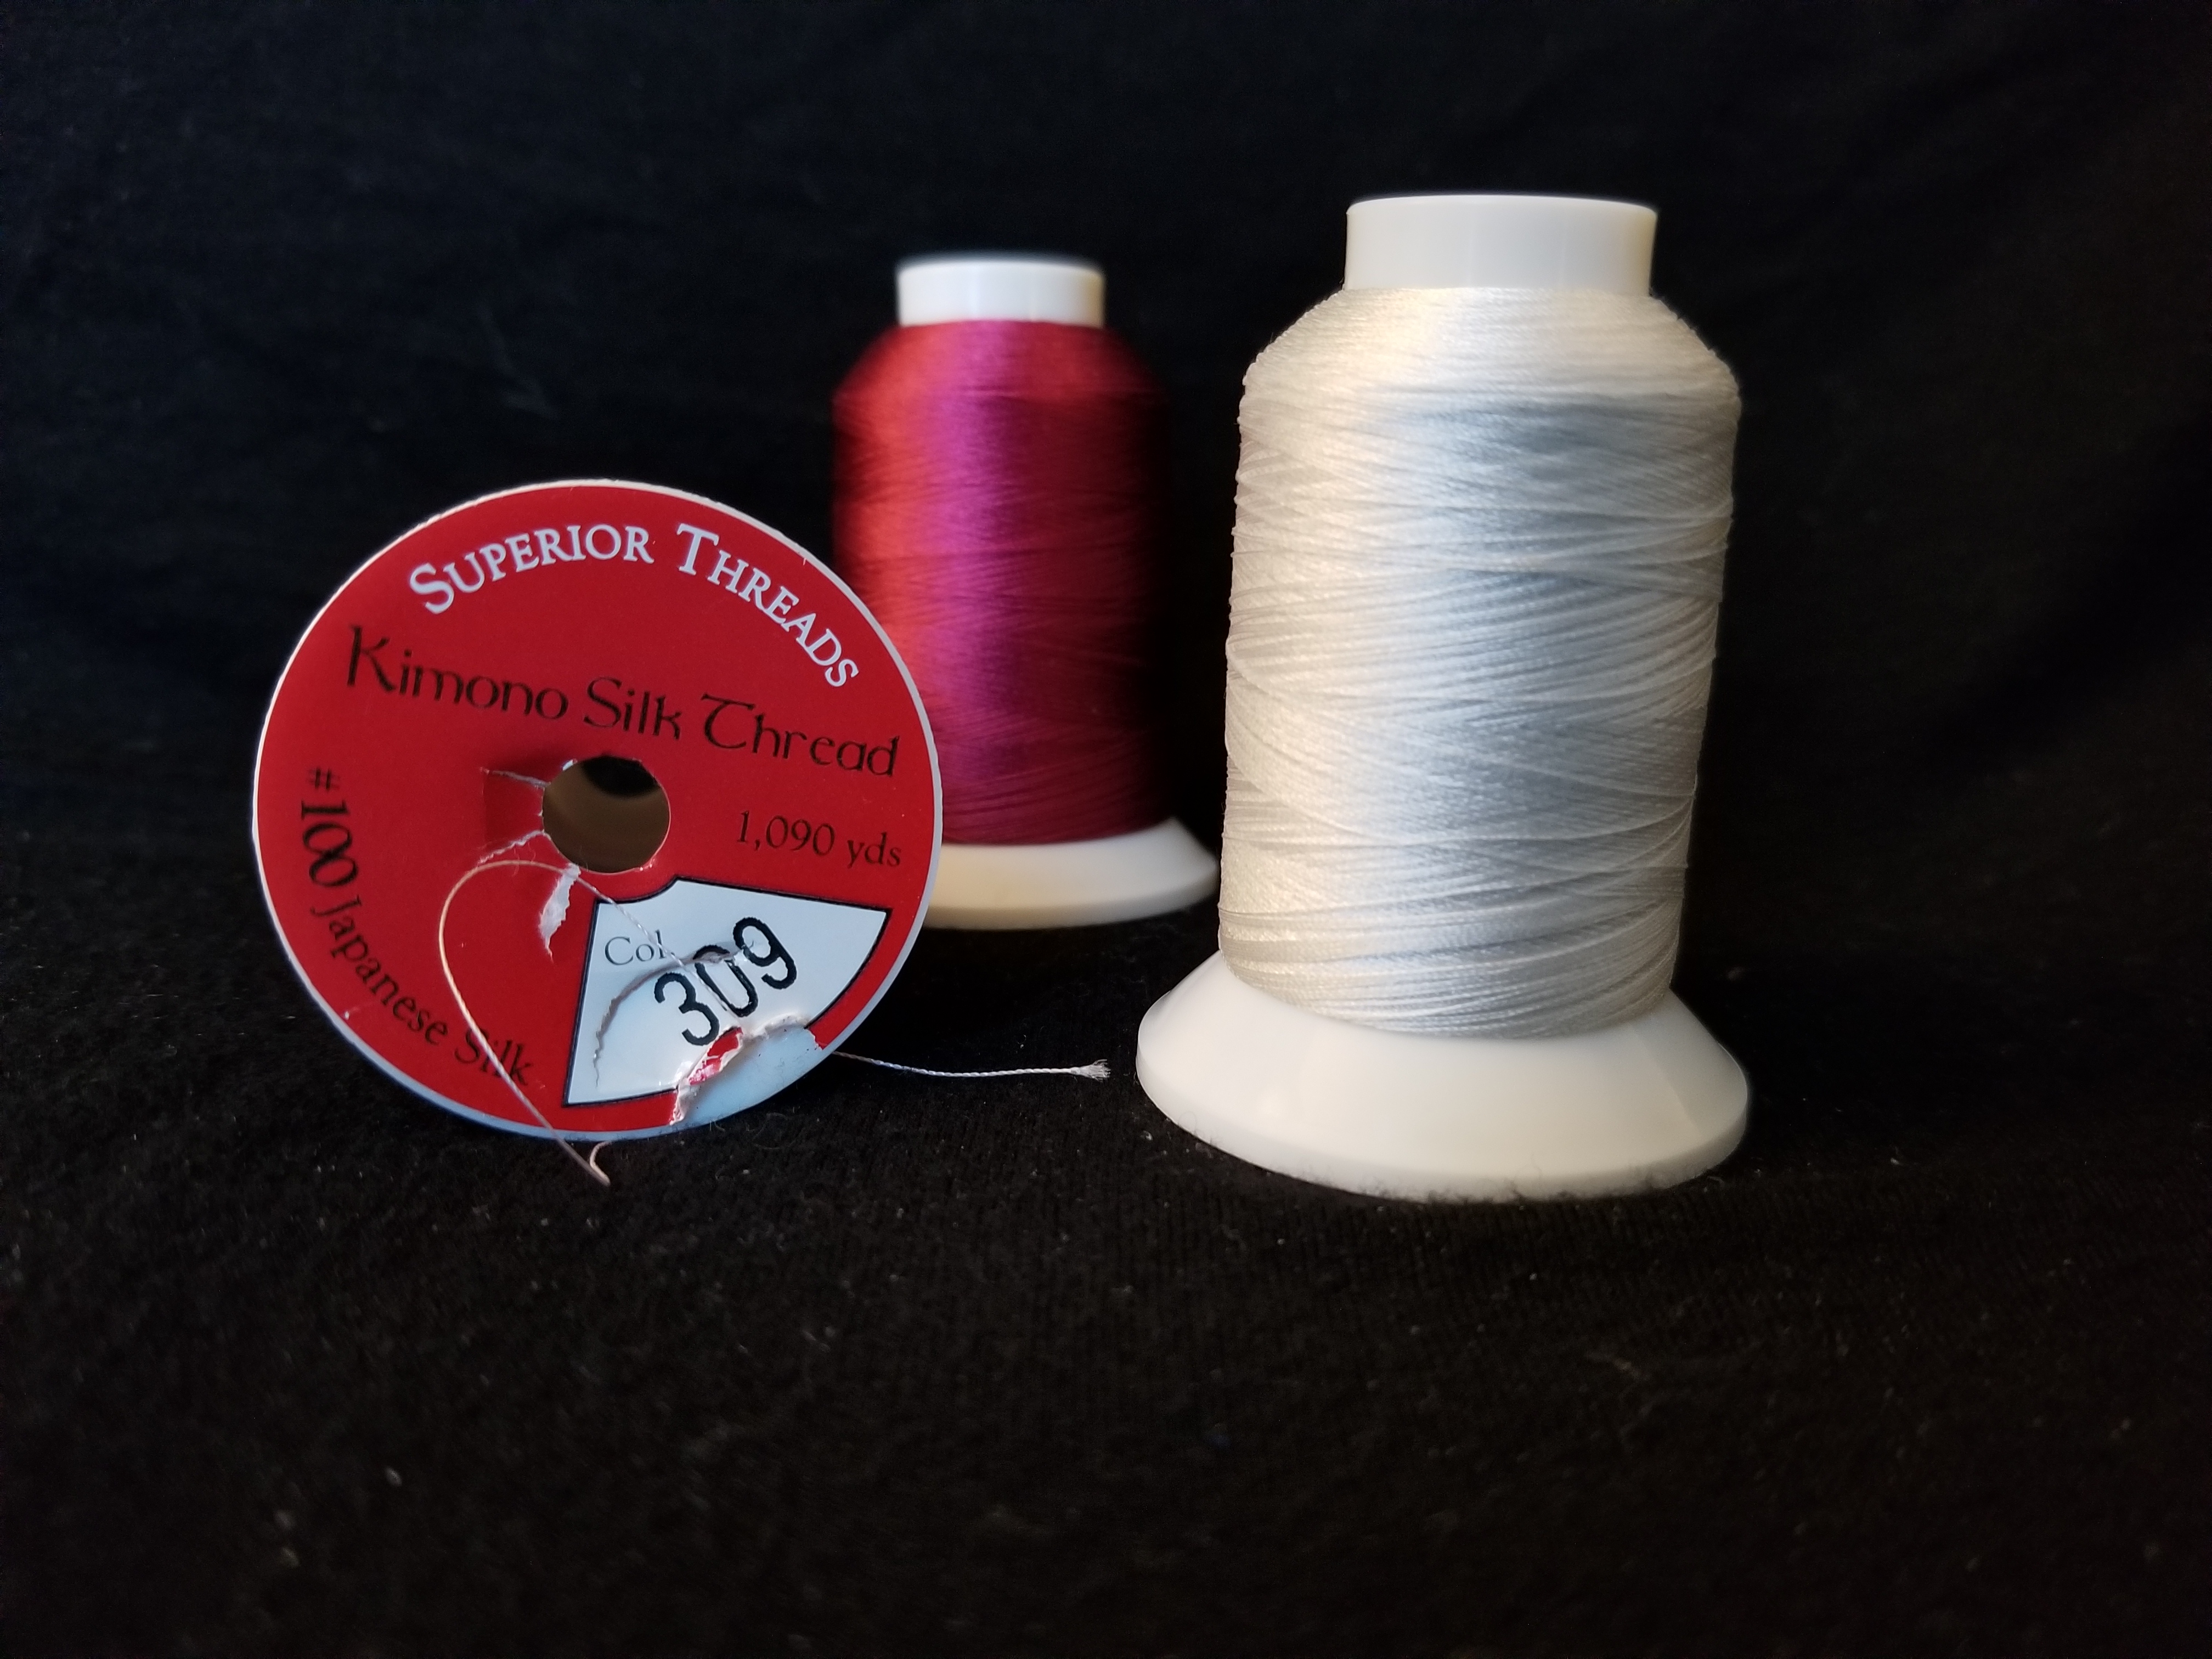
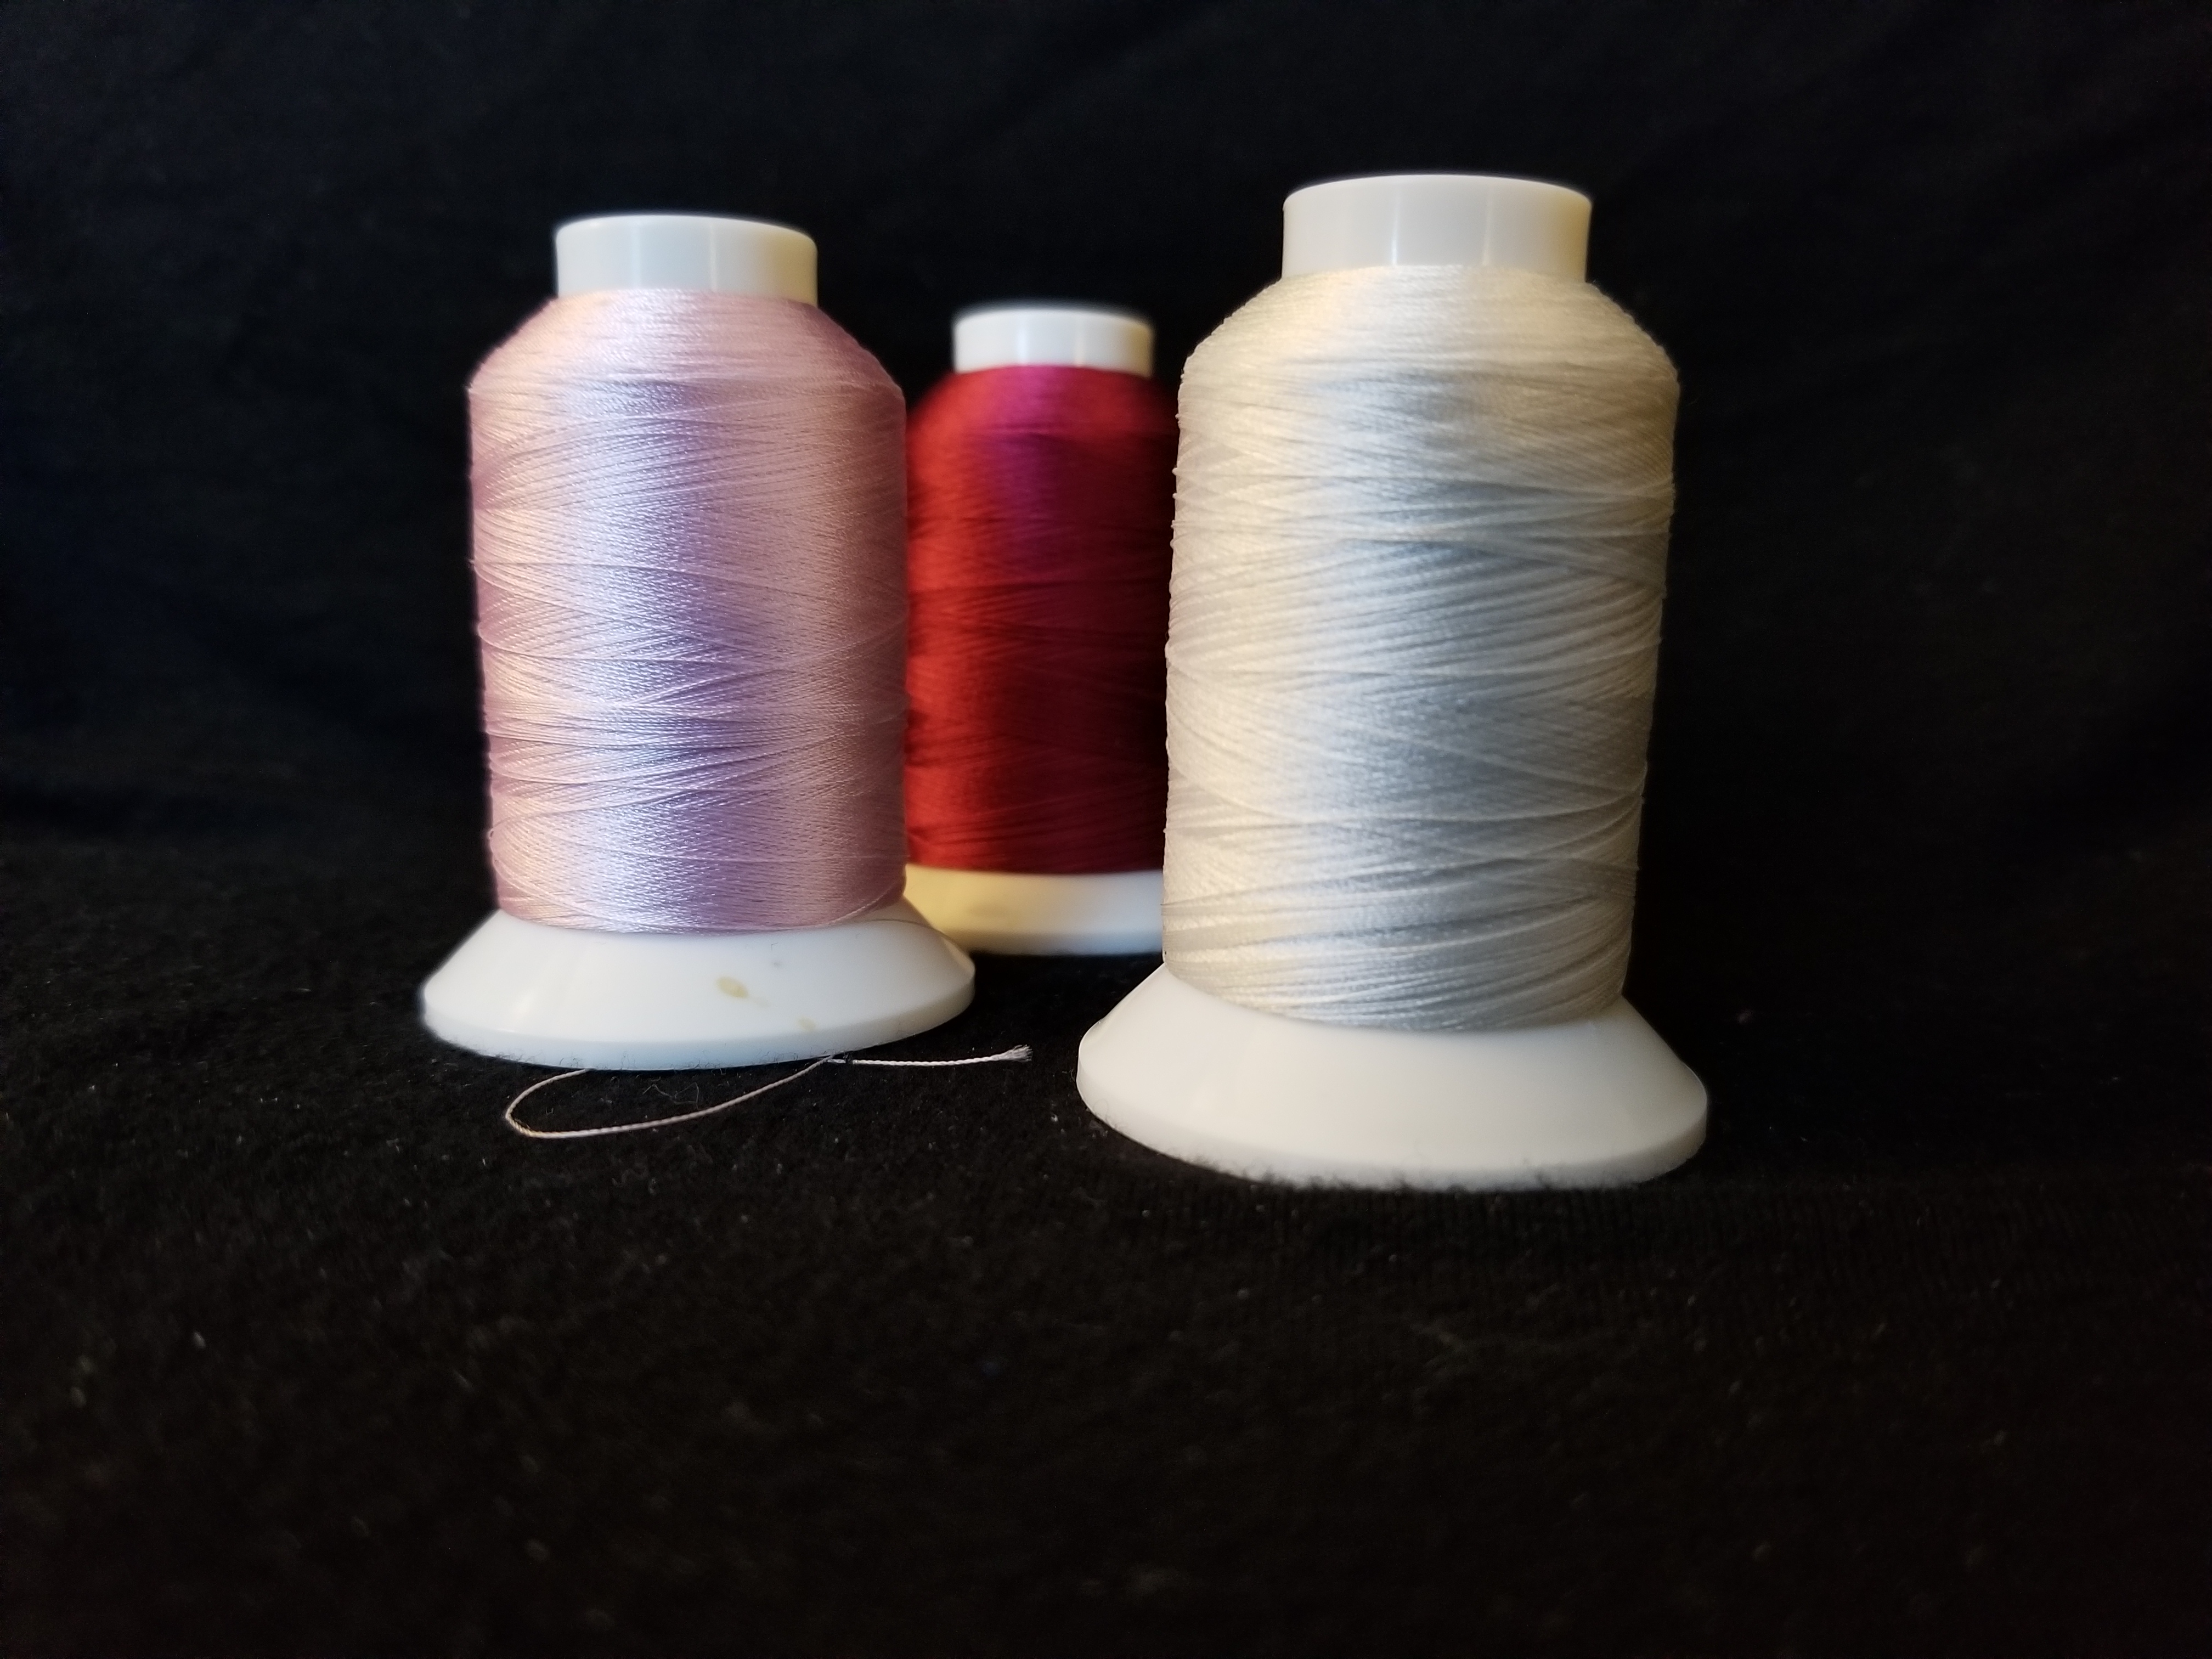
Specifically Kimono Silk by Superior threads as I do love their thread. No I don’t get paid by Superior Threads nor do I receive any freebies to say I love their. I just really love their thread.
Now to the batting issue. First I knew that I was going to use Hobbs 80/20 on the bottom, but what after that was a big question mark. It defiantly needed wool batting as this top needed lots of help to suck up all that extra fabric in certain places (the size D spots). Testing all the different brands and their thicknesses I decided to go with three layers (yes three layers) of Fairfield which is one that I had on hand anyway. It is a thinner wool batting, a lot thinner than Hobbs or some of the other brands. It worked perfectly for what I needed. I could use it to do foe trapunto. Mashing it down with small pebbling in the background so that the design elements popped with loads of texture.
To be continued….
Thank you for reading and don’t forget to draw and doodle each day!!
Part 2 coming soon…
Leave A Comment